Printing labels for locations
To mark your locations, you can print location labels directly from Picqer. These labels include the location name and a barcode for that location. You can easily scan the barcode in the Picqer app to look up the location.
Select your printer
Make sure you have connected your printers to Picqer. The default printer is determined by the packing table you’ve selected. For each packing table, you can specify a default “Printer for product and location labels.”
Label size
The label size is based on the format of the printer selected in Picqer. Unlike product labels, we don’t have specific recommended dimensions for location labels. We’ve had good results using the Dymo LabelWriter 450 Turbo, which uses standard labels of 88.5mm x 28mm.
Printing
If a printer is configured for location labels, you’ll see a button to print labels on the location page. You can choose to print a label for a single location or print labels for multiple locations at once.
Printing a label for one location
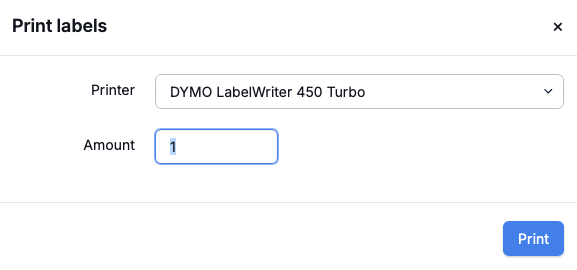
Go to the desired location in Picqer. In the top right corner of the page, you’ll find the “Print label” button. Click it to select your preferred printer and the number of labels to print.
Printing multiple location labels
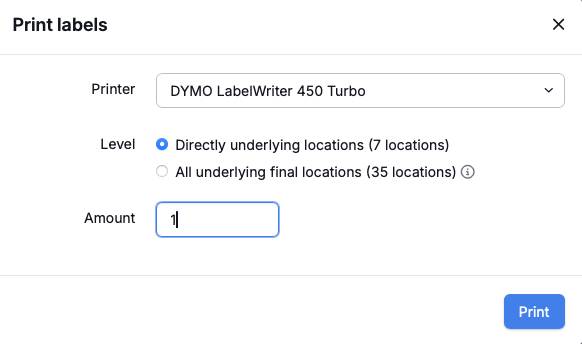
If you want to print labels for multiple locations at once,for example for an entire rack then you can use the “Print underlying labels” option.
In Picqer, go to the parent location and scroll down. There, you’ll see the list of direct underlying locations and the “Print underlying labels” button. Click the button, choose which labels you want to print, select your printer, and enter the number of copies.
Printing via the wizard
If you haven’t created any locations yet, you can do so using the location wizard. After creating your locations, you’ll immediately have the option to print all of them.


