Picking containers
This page is specifically about 'picking containers' that you use for batch picking. Picqer also has 'containers'. These are a type of location that you use for moving stock within your warehouse. More information

For normal picklist batches you need to separate products during the picking process. You can do this with containers, for example on a cart as shown right.
You can let the containers stand on the cart and attach the letters A, B, C etcetera on the containers. This way you know which container is meant for which picklist in the batch.
Pick more flexible with picking containers
With picking containers you can number individual containers, so you can take them off the cart after picking. This way you need less carts if you have different people who do product picking and others that pack and create shipments.
You give every picking container its own number and barcode, through this you can link a picklist to a container. Because of the barcode, Picqer always knows which picklist is in the container.
Because of this you can take a random cart. You link the containers to the picklists in the batch and start picking products. When you’ve collected all the products, you take the containers off the cart. You can now put new containers on the cart and collect a new batch.
Someone else at the packing table can now scan a random container and sees immediately which picklist is connected and can now check and ship the products.
After processing the picklist the container will automatically be unlinked from the container.
Managing containers
You can find picking containers under Settings > Picking containers.
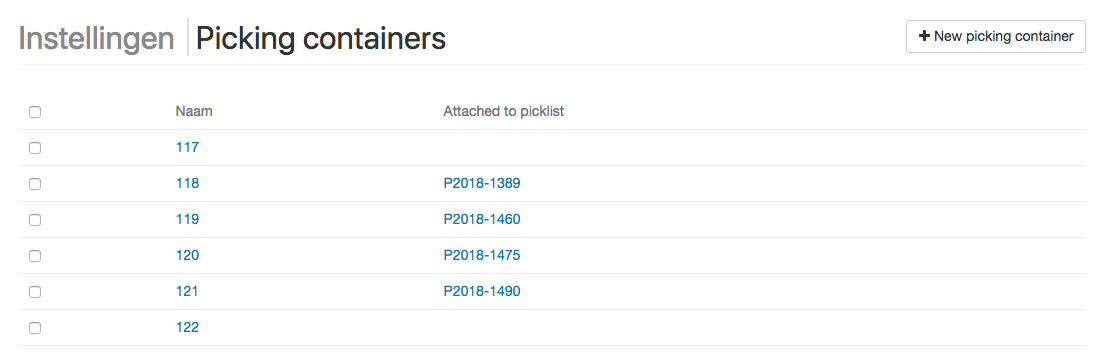
Here you see an overview of all your current containers and the linked picklists.
Adding a container
You can make a new container by clicking the button “New picking container”.
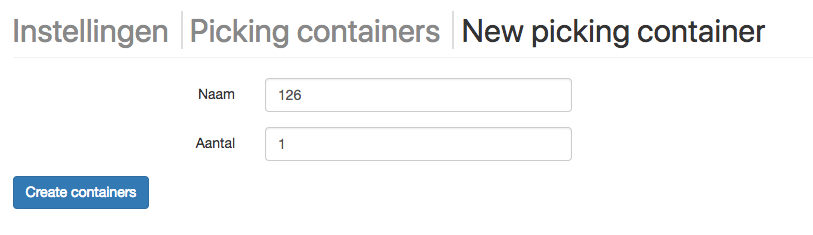
Here you can add the name of the picking container, and how many you want to create. You can make up to 100 containers at once, and Picqer will continue counting from the first number you insert as a name.
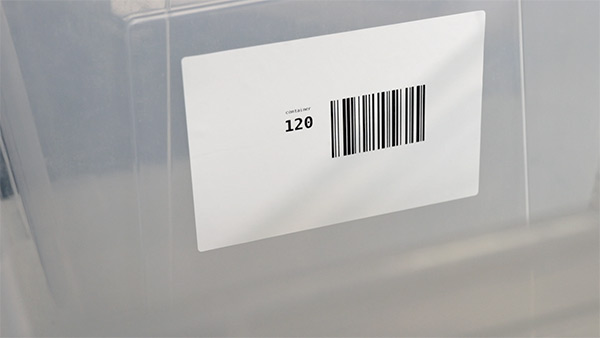
Printing labels
Now you have created containers, you can print labels. You can do this per container, or select multiple containers in the overview and select at the bottom ‘Print labels’. You choose the printer and for every container a label will be printed.
This is how a label looks:
Linking Containers
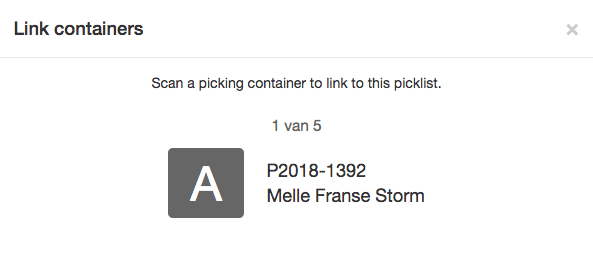
Now you have your containers, you can use them in normal picklist batches. You can do this by choosing in a batch for “Link containers”.
You now get to see a pop-up, in which you see for which picklist you need to scan a container. Scan the label on the container and Picqer will link the picklist. Picqer will ask you now to scan the next container until you have linked a container for every picklist in the batch.
Scanning containers at the packing table
When you have containers linked to a picklist, you can scan the barcode, wherever you are in Picqer, to directly go to the picklist. Just like you scan a barcode on a picklist or packing slip.
This way you can easily go to the right picklist when you are processing the orders at the picking table.


